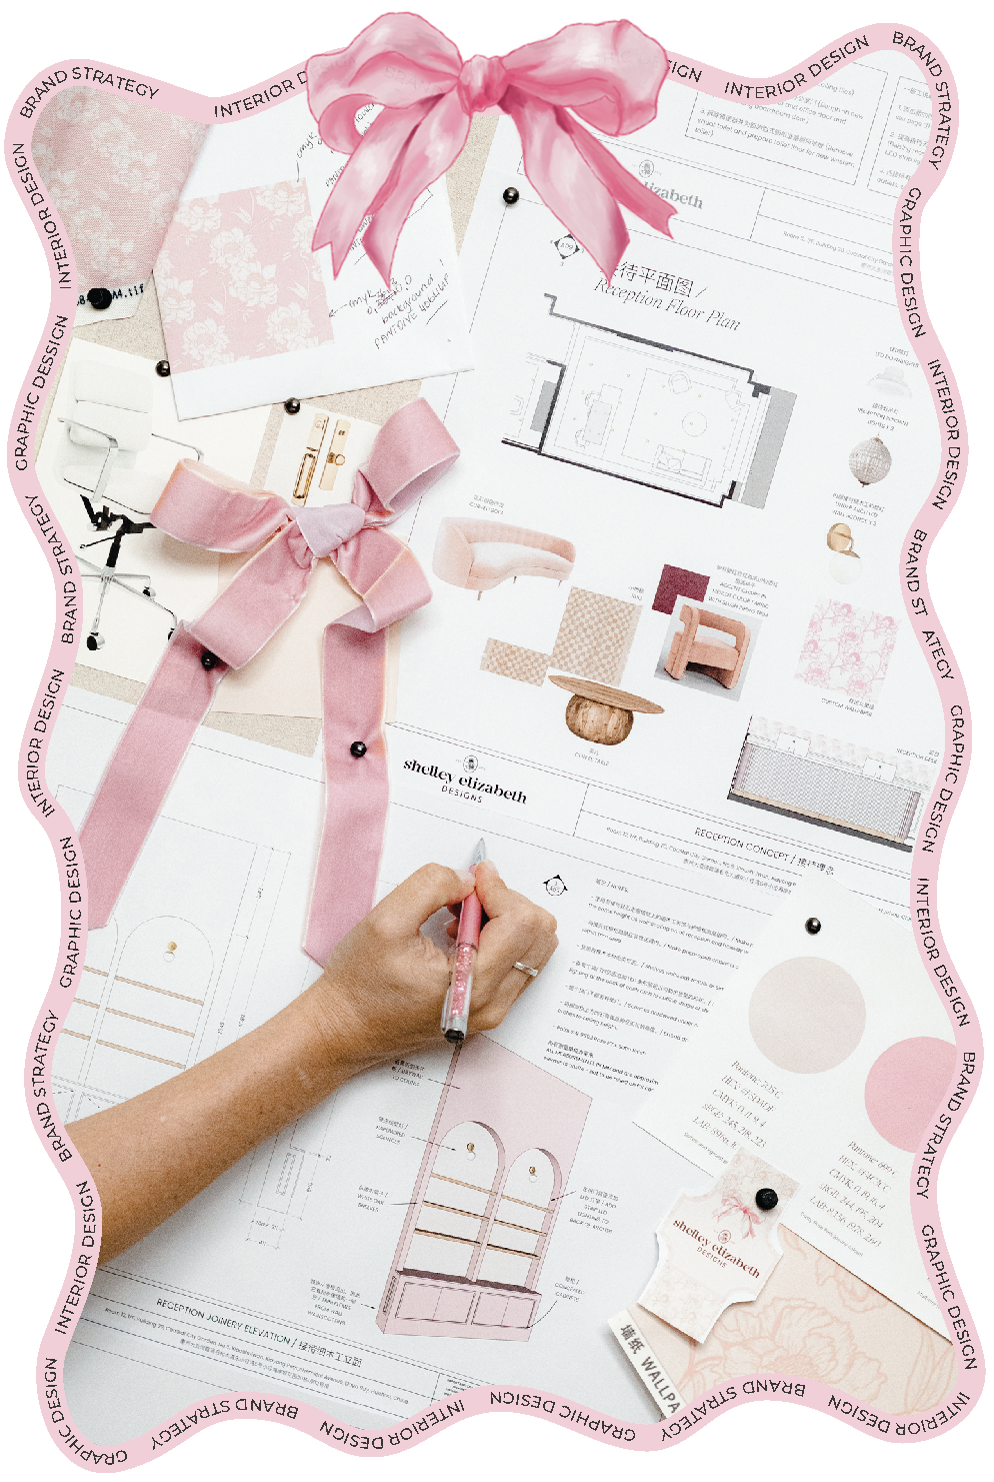
JOIN Our E

KITTY COLLECTION NOW AVAILABLE!

The holiday season is officially upon us!  Can you believe it?  Today I have a little holiday inspired DIY project for you – sparkling pumpkins, to get you into the festive mood.

I arrived in the US just prior to Halloween and noticed so many people here getting into the seasonal decorating.  Needless to say that it’s Fall/ Autumn and it’s all about Halloween, Thanksgiving and….pumpkins!

I quickly became swept up in the seasonal buzz.  So I decided to get amongst it and add a little holiday sparkle to my home.

DIY Sparkling Pumpkins | From Shelley With Love

Here is how I decorated my very first pumpkins.  Keep reading for your step-by-step guide. 

You will need

[left]+ a pumpkin(s) of your choice

+ 1 x tube of white acrylic paint

+ 1 x tube of metallic gold acrylic paint

+ 1 x protective plastic drop sheet

+ 1 x paper plate

+ craft glue

+ painters tape[/left]
[right]+ 1 x 2B pencil

+ 1 x eraser

+ 3 x coins of varying sizes

+ round + flat tipped paint brushes

+ fine gold glitter

+ hairspray or a sealing primer spray

+ 1 x teaspoon[/right]

Let’s get started


[images src=”http://i1311.photobucket.com/albums/s664/FSWL/HolidayDIYPumpkins-Preparation_zpsed7411ce.jpg”]

[images src=”http://i1311.photobucket.com/albums/s664/FSWL/HolidayDIYPumpkin-2paint_zps67045dc1.jpg”]


STEP 1:  Prepare your pumpkin

Thoroughly wash your pumpkin with warm water and a little dishwashing liquid, to remove any soil, dirt and grime.  Dry with a towel and leave to dry completely for a few minutes.

STEP 2:  Prime and paint

Spray your pumpkin with a light coat of hairspray or sealing primer.  This will give your paint something to stick to (Make sure your workspace is protected with a plastic drop sheet).

Apply a thin coat of white acrylic paint using a paint brush. I found heavy body acrylic paint to be the best.  It cut down the number of applications that were required to make the colour of pumpkin opaque.

Allow the first coat to dry before applying another coat. Repeat this step as many times as you need to make your pumpkin colour opaque – I applied three coats.

Your base colour is now complete!

STEP 3:  Get creative

It’s time to get creative!  I decided that I wanted my pumpkins to be white and gold – colours to compliment not only my home decor, but my Christmas vision too.

Right now I’m loving polka dots and chevron prints.  As always, I wanted to mix-up my textures, so I chose a gold paint and fine glitter for my design.

The polka dot sparkling pumpkin design:


[images src=”http://i1311.photobucket.com/albums/s664/FSWL/polkadotpumpkin_zps7f873f93.jpg”]

[images src=”http://i1311.photobucket.com/albums/s664/FSWL/HolidayDIYPumpkins-Step3Tracedots_zps653ae01c.jpg”]

[images src=”http://i1311.photobucket.com/albums/s664/FSWL/HolidayDIYPumpkins-Step4MarkandPaint_zpseffaaee4.jpg”]

[images src=”http://i1311.photobucket.com/albums/s664/FSWL/HolidayDIYPumpkins-Step5glueandsprinkle_zps61f1f338.jpg”]

[images src=”http://i1311.photobucket.com/albums/s664/FSWL/HolidayDIYPumpkins-Step6dustandpress_zpse240e087.jpg”]

Getting dotty:  Using three different coin sizes (or any other flat, round object), trace your polka dots onto you pumpkin.  Gently press a coin to the pumpkin and trace around the edge using a 2B pencil.  If you make a mistake, you can gently remove it with an eraser.

Once you’re happy with the placement of your drafted polka dots, use your pencil to mark an ‘X’ in the dots you wish to cover with glitter.  I chose not to go too cray-cray with my glitter but just kept it as an accent to the overall look.

Use a round-tip paint brush and the metallic gold acrylic paint, to carefully fill in the dots that are not marked with an ‘X’.  The first coat is the hardest – slow and steady wins the race!

Tip:  place your loaded brush in the middle of the polka dot and work the paint towards the outer edge of the dot – use the rounded-tip of the brush to carefully push the paint towards the edge – it just like painting your nails…don’t apply too much product at once.

Allow the paint to dry before repeating this step as many times as you need to, for a nice metallic, opaque finish.  Make sure that all paint is completely dry before proceeding to the next step.

Time to sparkle:  This is my favourite part! Take the craft glue and a clean, round-tiped paint brush.  Apply a light, even amount of glue to one of the ‘X’ marked dots.

Before the glue has time to dry, dispense a small amount of the fine, gold glitter onto a teaspoon.  Hold the spoon as close to the highest point of the dot as possible and use your index finger to direct the glitter onto the glue.  Ensure the polka dot is completely covered with glitter, then gently tap the glitter into the glue.

Use a fine-tip brush to gently trace around the outside of the polka dot to remove any excess glitter.

Repeat this process until all the ‘X’ marked dots have been filled with glitter.  Gently spray your polka dot pumpkin with hairspray or sealing primer to lock the glitter into place. …and you’re done!

The chevron sparkling pumpkin design:


[images src=”http://i1311.photobucket.com/albums/s664/FSWL/chevronpumpkin_zpsfe9a8acb.jpg”][images src=”http://i1311.photobucket.com/albums/s664/FSWL/drawortape_zpsd93f64ab.jpg”][images src=”http://i1311.photobucket.com/albums/s664/FSWL/paintandsparkle_zpsbb071daf.jpg”]

Now I won’t lie, I thought this one was going to be the easier pumpkin design of the two…how wrong was I?  Turns out it was far more difficult than I expected – you need a steady hand and lots of patience for this one!

Zig then zag: Before you begin your zig-zag Chevron print, take your 2B pencil and gently mark a dashed horizontal line around the widest part of your pumpkin – just like you would be cutting it in half. This will provide you with a guide to zig-zag over and prevent you from having a wonky pattern…unless that’s what you’re going for of course!

The next step you can do, one of two ways below (or cut a stencil):

Option 1:  lightly free-hand draw your zig-zag chevron print onto the pumpkin with a 2B pencil – this is  way I opted to complete my design…not before trying option 2!

Option 2:  create the outline of your zig-zag chevron print with painters tape – I thought this was going to be the easiest and quickest method. I was wrong…I went back to option one!

Tip:  be sure to remove most of the tapes sticky adhesive on the back of your hand before applying it to the pumpkin – otherwise you could peel the paint off the pumpkin when you peel off the tape!

Whichever option you choose, draw a total of four complete zig-zag lines around your pumpkin.  Each line of zig-zags should be approximately one centimetre above and/or below the previous line.

Using a small paint brush, fill in the space between the top two lines and the bottom two lines with metallic gold paint.  It will now look like you have three zig-zag patterns – gold, white, gold.  Wait for the paint to dry and re-apply as many coats as required to get an opaque finish, then leave to completely dry before proceeding to the next step.

Bling it up:  Using a flat head paint brush, apply a thin line of glue evenly through the centre (white) zig-zag line – being sure to leave white space on each side.

Work in small sections to apply and clean-up the glitter, the same way as outlined in the ‘polka dot pumpkin – time to sparkle’ step.  Repeat this process right the way around the pumpkin until the line meets your starting point.

Gently spray your pumpkin with hairspray or sealing primer to lock the glitter into place. And that’s it!

[line]

You now have a fun, holiday decoration that will add some sparkle to your home!  Of course, you can change out the colours to create a piece that fits your holiday theme.

Holiday Sparkling Pumpkins | From Shelley With Love

I loved my first pumpkin decorating experience, it really got me into the holiday mood…and hey, I can never say no to a bit of sparkle!

Leave a comment below with any holiday projects you have planned, I’d love to hear about them!  If you give this DIY project a go, I’d love to see your creation.  Be sure to Instagram a picture and use the hashtags:

#sparklepumpkin  #FSWL

With love,